I have a laundry room! I have a washer and dryer! Who ever thought someone could be so happy about that!? It has been a long six month project but we are finally ready for our laundry room reveal. The room looks entirely different from when we first started and I can’t wait to share it with you.
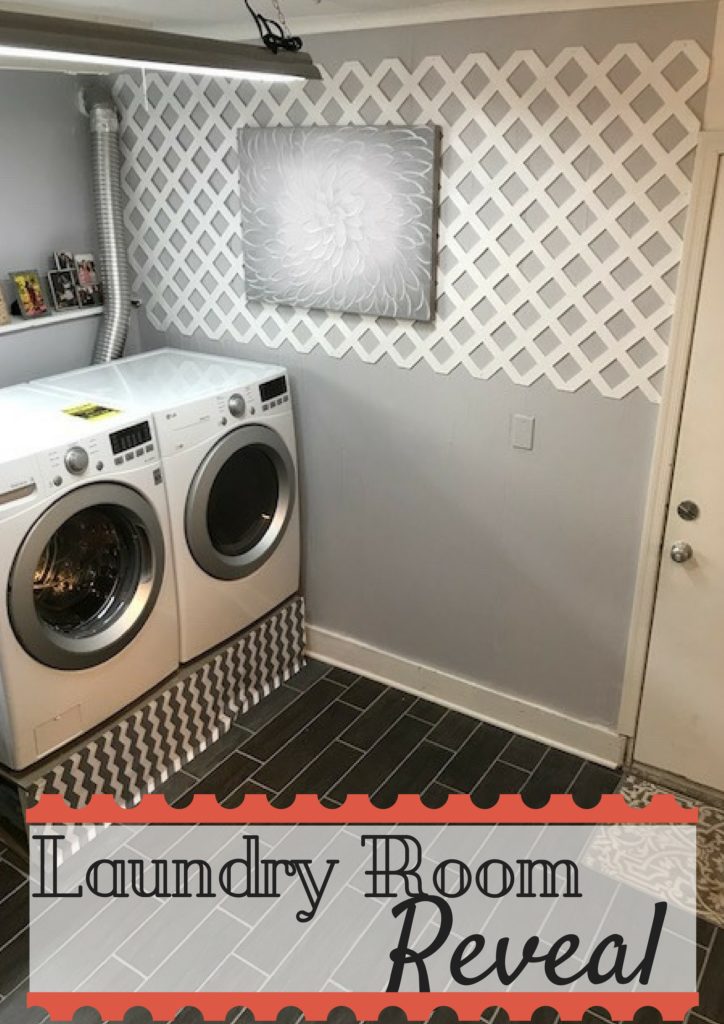
My first post about our laundry room makeover shows all the details of how we demolished the laundry room and got started on a (somewhat) new layout. Before we started this project our laundry room was very closed off and tight to open the washer/dryer doors to do laundry. It wasn’t a functional space.

Shane and I went through various ideas on how we wanted the room to look. One option was to put up a wall where the folding table was and add a half bath. While that would have been great, that would have been a lot of work, money and time. It also would have closed off the room even more so we nixed that idea.
We thought about moving the folding table over to where the closets were and putting shelves above it. When we started opening the walls and the closets, though, we ran into some big pipes that couldn’t be moved. So we nixed that idea, too.
In the end, the folding table ended up in the garage as Shane’s work bench and I’m happy with that. Shane has completed so many other small projects in the garage since moving the folding table so I can’t complain.
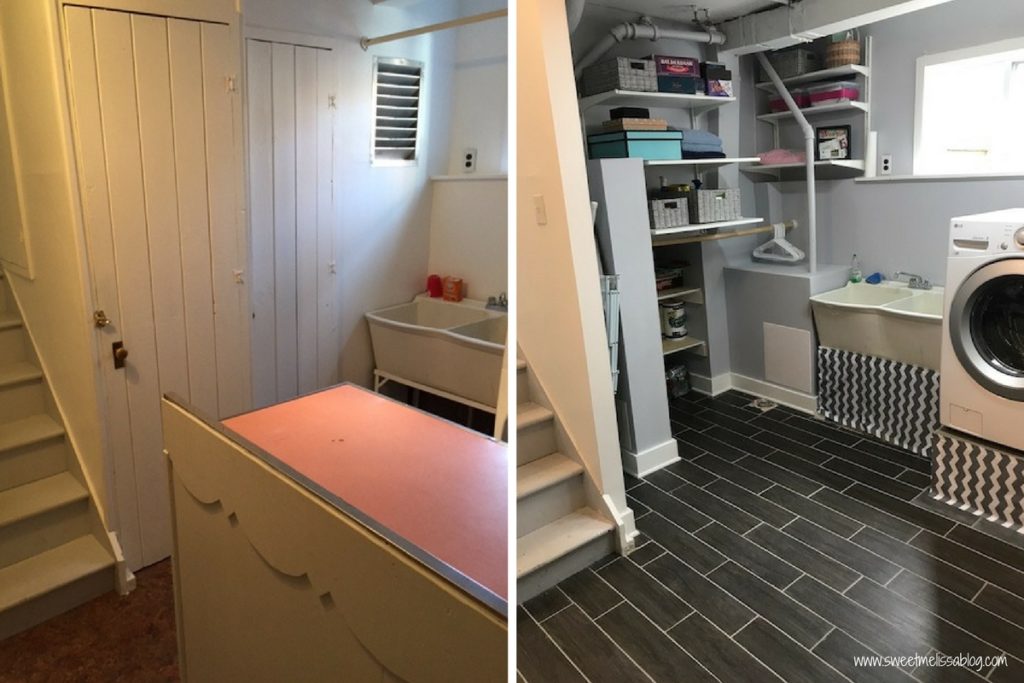
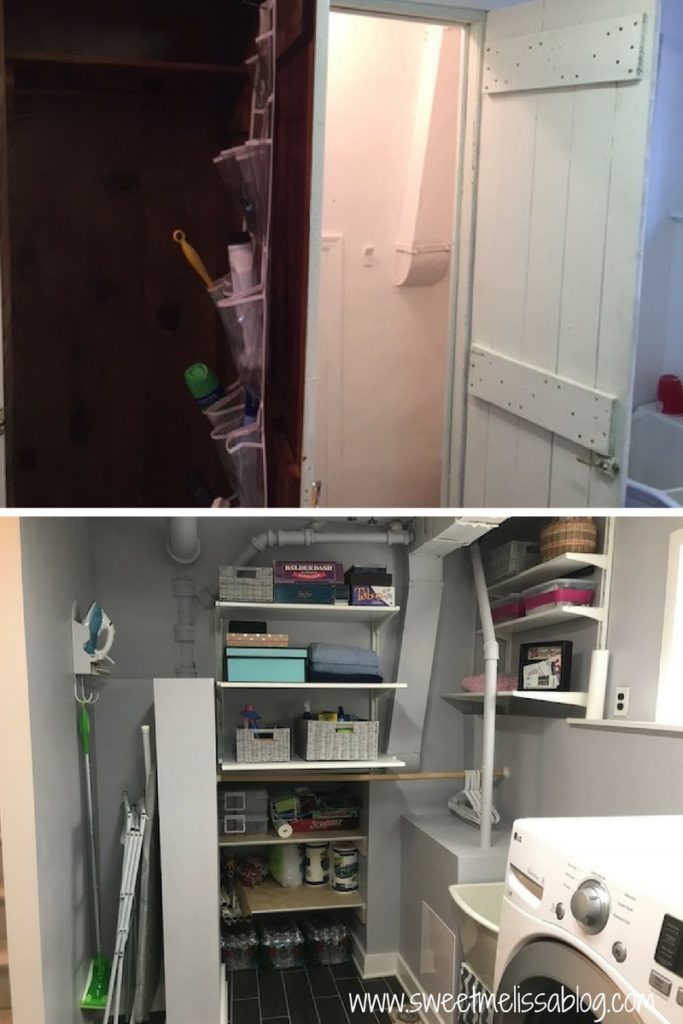
Remember the two closets that were really just wasted space? Gone! We knocked them down and hired someone to frame in all the random pipes as best as possible. That’s why there are a few nooks and crannies, but I’m so happy with the openness of the space and how it actually functions now. I have more than enough shelving and storage for all the random things we keep in the basement.
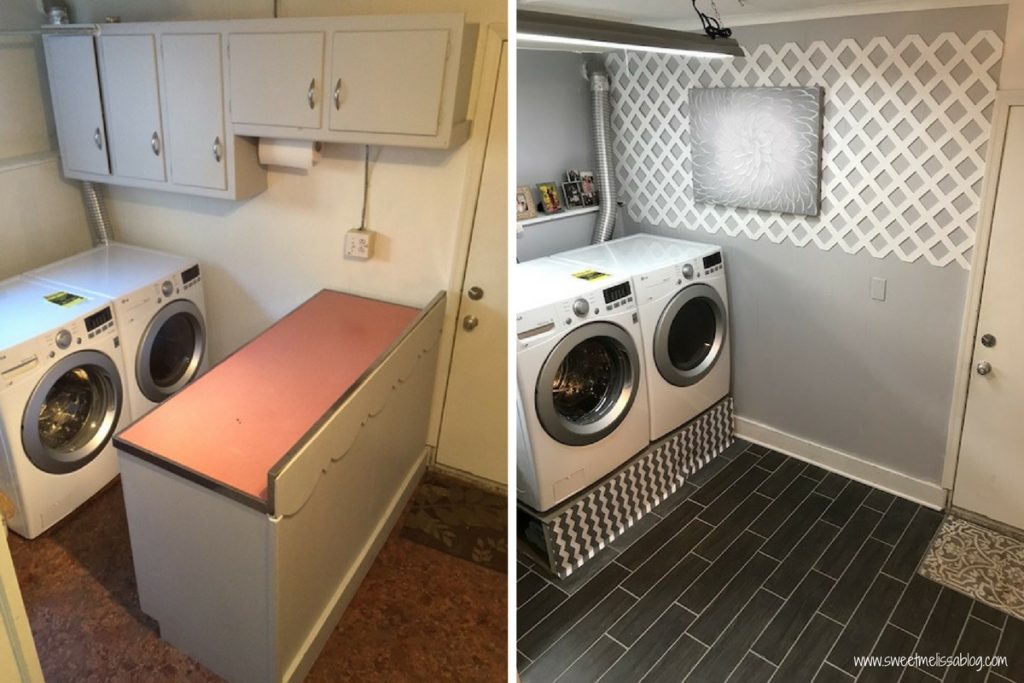
Can you say good bye folding table! Gone! We also removed those terrible cabinets that we kept banging our heads on. Unfortunately, removing everything off this wall left it looking pretty bad so we covered it up with some of the extra lattice we used in our backyard makeover. Shane also built a platform for the washer/dryer so we don’t have to bend over so much to do laundry. That’s what you get for being tall. I have additional storage under the washer/dryer now for extra towels.
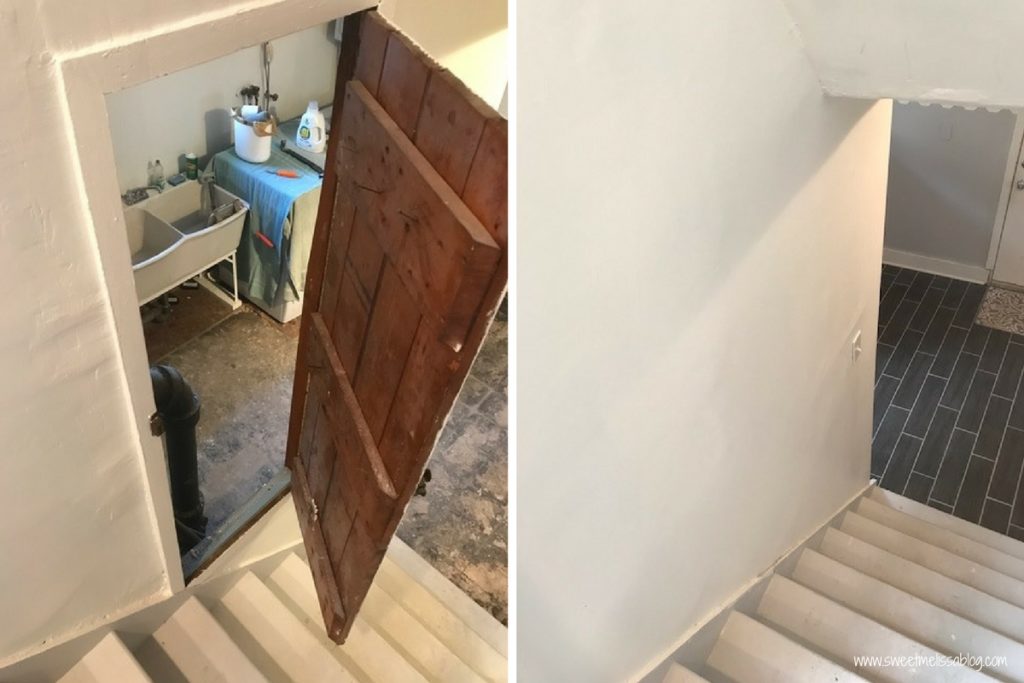
Remember the creepy door? Also gone!
Here is another view of the “closet” area. The area to the left is the perfect size to keep my ironing board, drying rack and Swiffer. The protruding 8″ wall covers up a pipe that you can also see toward the ceiling. We didn’t want to get into plumbing with this project so we covered what we could and painted the rest to match the walls.
The middle section of this wall is my favorite. Shane mounted three shelves for storage. I also have the two shelves in the cubby. These are perfect for storing cases of water, paper towels, toilet paper, etc. I put the bulky items in the back and they are pretty much hidden. You’ll also notice a wooden rod right under the third shelf and above the cubby. I saved this from the old closets to use for hanging wet laundry. Genius!
Lastly, on the right side, Shane mounted a few more shelves. These are a little smaller because we couldn’t clear the pipe with larger shelves. I have so much extra space that I had to put up my Memory Box just to fill in the space (for now).
One more shot of the laundry room from the other side of the basement. You can definitely see how closed off and small the area was in the before picture. Shane did all of the tiling by himself. It was a $10 Facebook find on my part! He also painted the walls, built the platform for the washer dryer, hung the lattice and mounted the shelves. Give yourself a pat on the back, Shane. All I did was create the sink and platform skirts to hide what was underneath them. You can follow my easy no-sew tutorial here.
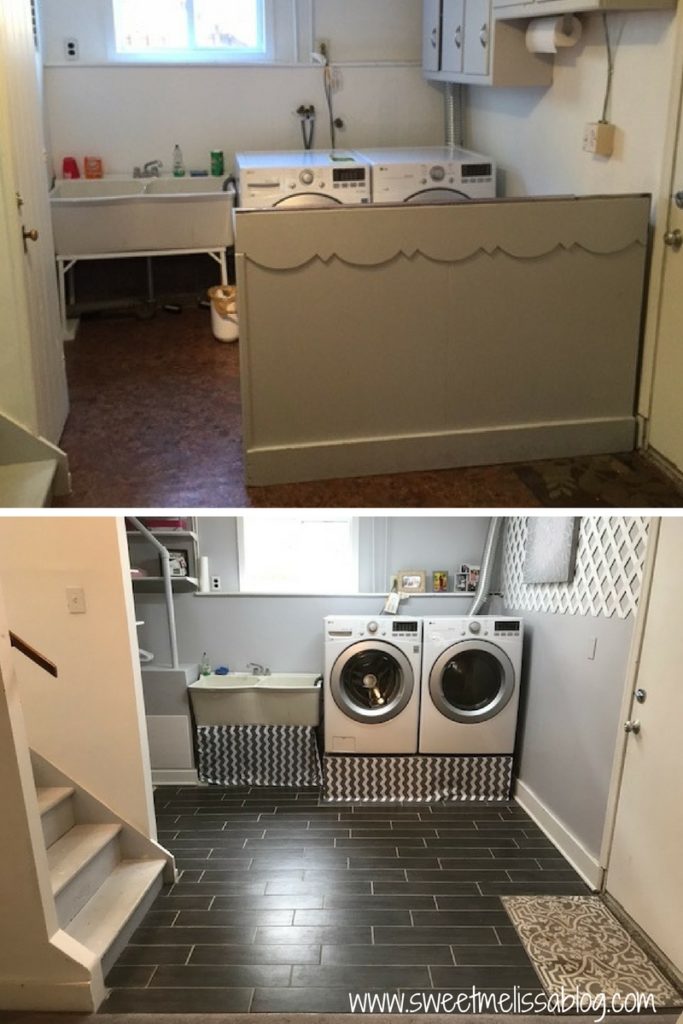
I love, love, love how this room turned out. The openness and extra storage are great. It doesn’t feel like I’m doing laundry in a dungeon anymore, though it also doesn’t make me want to do laundry… but who does!? Another project can be checked off the list!


