When you just can’t seem to find exactly what you’re looking for in the store or online what do you do? You make your own! At least that’s what I do 🙂 I found myself in this predicament when I was trying to cover a few windows in my home with curtains. I just couldn’t find the perfect curtain so I ended up making my own. And, guess what! I am not a seamstress and I am no pro with a needle and thread. I didn’t even use a needle and thread to make my curtains! Follow this easy tutorial to make your own no-sew curtains for any window or covering in your home.
This post contains affiliate links. For more information please see my disclosures here.
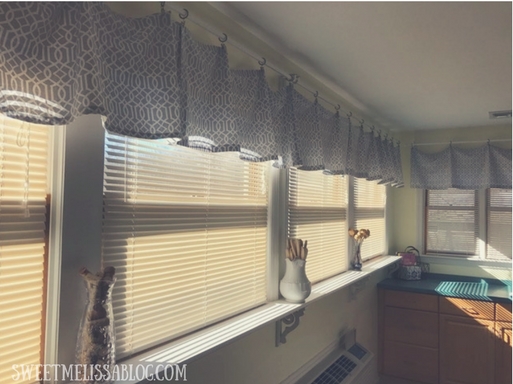
When Shane and I first moved into our house there were two rooms where I wanted to add curtains right away. The first room, our kitchen, has a lot of windows and they looked very plain and boring without a curtain. I bought a few curtain rods and curtain rings with clips![]() and got to
and got to sewing making curtains for the kitchen.
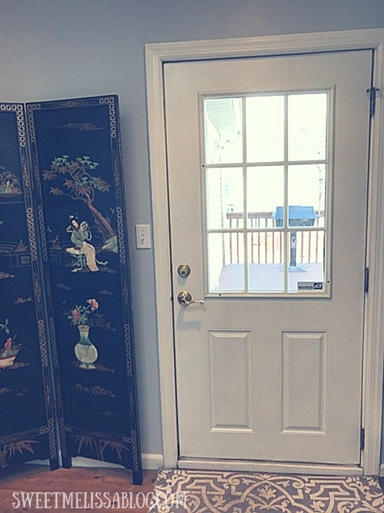
The second room, our office, has an odd setup and one window that absolutely had to be covered. The office has a door that leads to the back of our house. This area actually gets a lot of “traffic” because our driveway is in the back of the house. To create more privacy I was sure to cover the window on the back door ASAP. As you can see, it was a free-viewing to our neighbors and anyone who came to our back door.
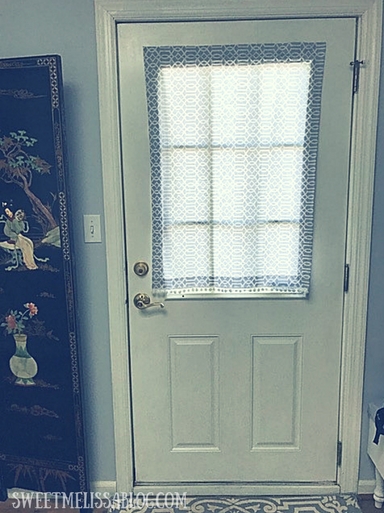
For this window, I added a little flair at the bottom (using pom-poms![]() ) and you’ll notice there is no curtain rod. Since this door is metal I used magnets
) and you’ll notice there is no curtain rod. Since this door is metal I used magnets![]() to keep the curtain up. I really like this technique because I can easily remove the curtain if I want to.
to keep the curtain up. I really like this technique because I can easily remove the curtain if I want to.
The best thing about these no-sew curtains is they can be used anywhere (on a window, a door, etc.) and can be hung multiple ways (curtain rings, magnets, etc.). Even better, there is no sewing involved! Follow these easy steps to make your own no-sew curtains.
Here is a list of supplies you’ll need:
- Fabric (cut to size of window plus one inch extra on each side)
- Iron
- Ironing board
- Scissors
- Ruler (or other straight edge)
- Magnets
 (optional)
 - Pearlized Pins

- Stitch Witchery

- Liquid Stitch

Step 1 – Measure
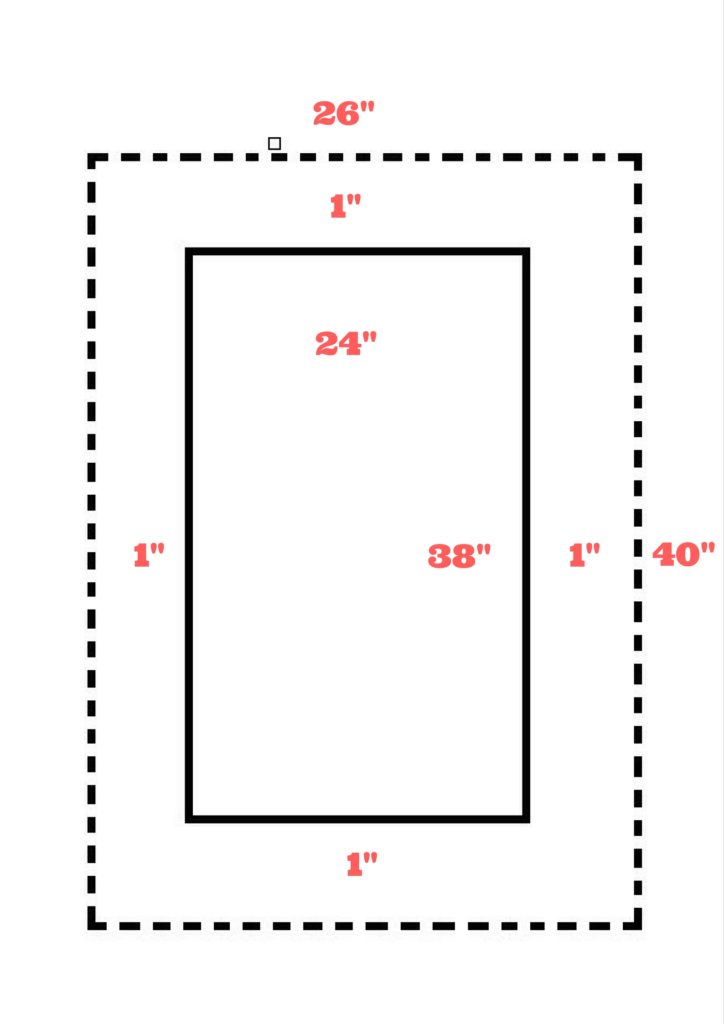
Begin by measuring the area you are going to cover. I’ll use my office door as an example throughout this tutorial. The window measures 24″ x 38″. Add 1″ to each side of your measurement to determine how much fabric you will need. This makes my fabric measurement 26″ x 40″.
Step 2 – Make a Crease
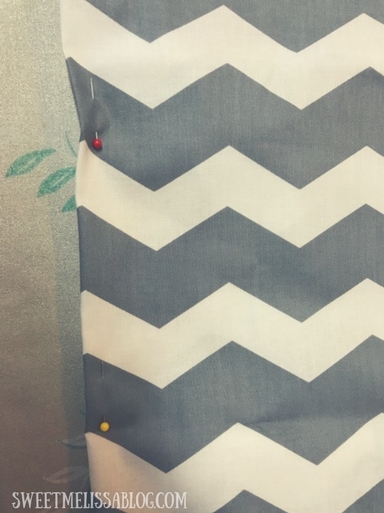
Begin on the top side of your curtain. Working on the wrong side of the fabric (the side with no print) and using your ruler (or straight edge) fold over 1″ of fabric. Use the pearlized pins to keep your fabric in place. Iron the edge of the fabric to make a crease that will stay once you remove the pins.
Step 3 – Insert Magnets and Stitch Witchery
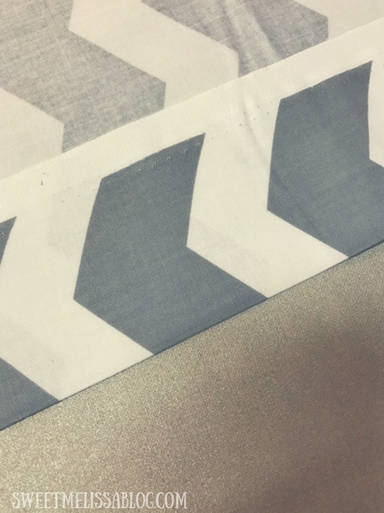
Open the fold you just ironed (you should be looking at the wrong side of the fabric). If you are using magnets,![]() space them evenly on the inside of the crease line. Cut pieces of Stitch Witchery
space them evenly on the inside of the crease line. Cut pieces of Stitch Witchery![]() (SW) to fit in between each magnet and lay them on the inside of the crease as well. Cut another strip of SW to run along the entire width of the fabric and place next to magnets (you should have the crease, then one line of magnets and pieces of SW, then one full line of SW). The full line of SW will ensure the magnets do not slip out. You can very faintly see the SW in between the magnets in the picture below.
(SW) to fit in between each magnet and lay them on the inside of the crease as well. Cut another strip of SW to run along the entire width of the fabric and place next to magnets (you should have the crease, then one line of magnets and pieces of SW, then one full line of SW). The full line of SW will ensure the magnets do not slip out. You can very faintly see the SW in between the magnets in the picture below.
If you are not using magnets, cut one strip of Stitch Witchery to run along the entire width of the fabric and place it next to the crease (you should have the crease, then one full line of SW).

Secure the magnets and SW in place by folding the 1″ flap back over the magnets and SW. Take your iron and apply about 10 seconds of heat to each space between the magnets and in front of the magnets. Basically, you should place the iron over every place you put SW, following the initial crease you made in Step 2. DO NOT place the iron directly on the SW! Make sure your fabric is covering the SW like a SW sandwich where the fabric is the bread.
There will be a teeny, tiny flap left after you iron the 1″ fold. I like to reinforce this with just a tiny bit of Liquid Stitch. Don’t add too much, though, or it will show through the other side of your fabric.
After you iron the top side of the curtain you should be able to hold up the fabric without the magnets falling out. Congrats – you created the first side of your curtain!
Step 4 – Complete the Other Sides
I like to work in order of opposite sides. Since we just completed the top, turn your work 180 degrees to complete the bottom. Working on the wrong side of the fabric, follow the same instructions in Steps 2 and 3 except do not use magnets. If you didn’t use magnets in the first place, then follow the same steps you just completed.
Once you complete the bottom edge, you are ready to work the sides. It doesn’t matter which side you work with first. Follow the same instructions in Steps 2 and 3 (without using magnets). The only difference here will be your corners. You’ll want to make nice, crisp corners.
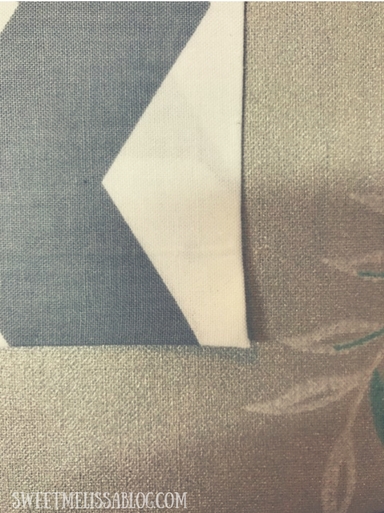
When you reach a corner, take your scissor and cut the fabric diagonally starting from the corner and cutting into the 1″ fold of fabric. You should end up with something that looks like this:
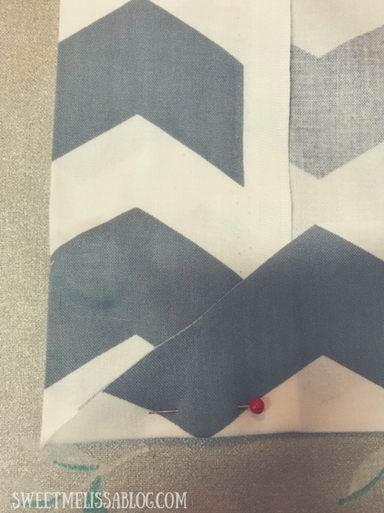
I use a little more Liquid Stitch in the corners to make sure they stay in place. When you fold the fabric over to the right side your corner should look clean and smooth.
Follow the same steps for the last side and you’re done! Wasn’t that easy? I love how simple it is to make these curtains and that I can personalize them to my style.


